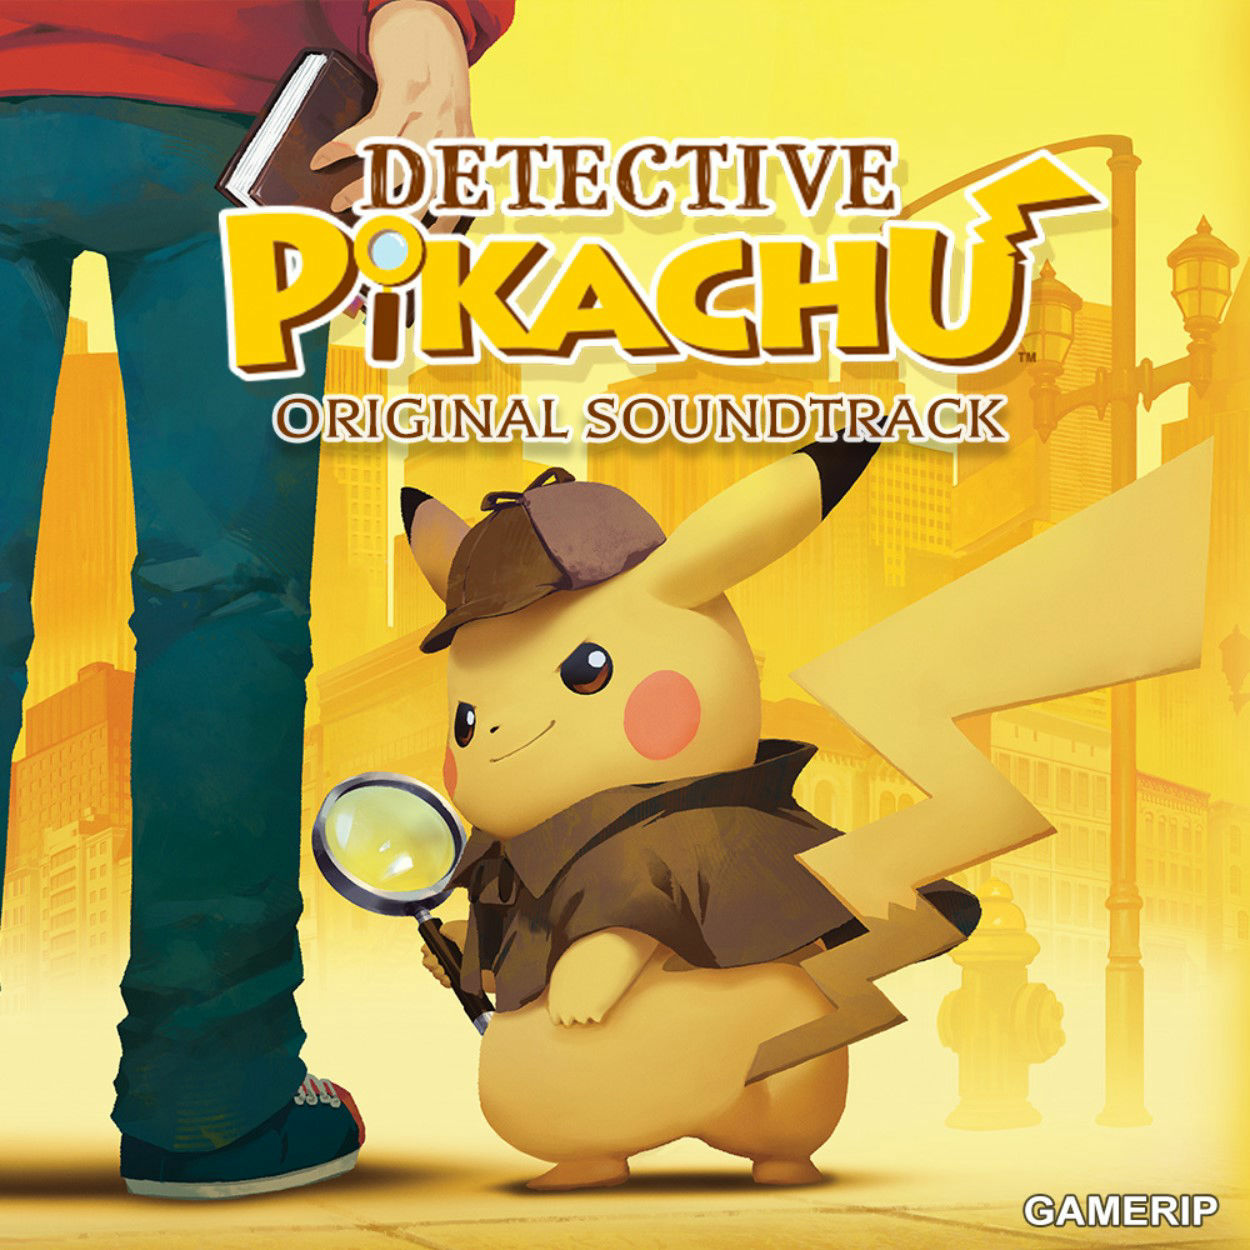
1 | Banner Intro |
2 | Main Theme |
3 | Chapter 1: Meeting Detective Pikachu 01 |
4 | Chapter 1: Meeting Detective Pikachu 02 |
5 | Vicinity of Tahnti Station 01 |
6 | Vicinity of Tahnti Station 02 |
7 | Chapter 1: Track Down the Aipom |
8 | Talking to Detective Pikachu 01 |
9 | Talking to Detective Pikachu 02 |
10 | Talking to Detective Pikachu 03 |
11 | Chapter 1: Smells Like a Case! |
12 | Tahnti Park |
13 | Chapter 1: Murkrow’s Nest 01 |
14 | Chapter 1: Murkrow’s Nest 02 |
15 | Chapter 1: Murkrow Interrogation |
16 | Chapter 1: Burmy Interrogation |
17 | Chapter 1: Wormadam Interrogation |
18 | Chapter 1: Refutation |
19 | Chapter 1: Case Solved |
20 | Chapter 1: Baker Detective Agency (Cutscene) |
21 | Baker Detective Agency |
22 | Chapter 2: The Beginning |
23 | Goodman’s Apartment |
24 | Chapter 2: Finding Notes |
25 | Chapter 2: Defeat the Glalie! |
26 | Litwick Cave |
27 | Chapter 2: Flying on Drifblim |
28 | Chapter 2: Hi-Hat Café (Cutscene) |
29 | Hi-Hat Café |
30 | Chapter 2: Broken Vial |
31 | Chapter 3: Café Talk |
32 | Chapter 3: Pikcahu |
33 | PCL |
34 | Chapter 3: Dorothy Fridge |
35 | Inside PCL |
36 | Chapter 3: Fridge’s Lab |
37 | Chapter 3: Courtyard |
38 | Chapter 3: Carlos’ Lab |
39 | Chapter 3: Wallace’s Lab |
40 | Chapter 3: This Is It |
41 | Chapter 3: Trevenant Attack! |
42 | Chapter 3: Trevenant Incident |
43 | Chapter 3: Help Pikachu! |
44 | Chapter 3: Catch the Gengar! |
45 | Chapter 3: Secret Passageway |
46 | Chapter 3: Underground Laboratory (Cutscene) |
47 | Underground Laboratory |
48 | A Bolt of Brilliance! |
49 | Chapter 3: Refutation 01 |
50 | Chapter 3: Refutation 02 |
51 | Chapter 3: Refutation 03 |
52 | Chapter 3: Refutation 04 |
53 | Chapter 3: Carlos Capture |
54 | Chapter 3: Baker Detective Agency (Cutscene) |
55 | Chapter 4: Opening |
56 | Chapter 4: Baker Detective Agency (Cutscene) |
57 | Chapter 4: Amanda |
58 | Chapter 4: Happy Ludicolo |
59 | Chapter 4: Heading to Cappucci Island |
60 | Chapter 4: Louise Milligan |
61 | Chapter 4: Cappucci Island 01 |
62 | Chapter 4: Manectric |
63 | Chapter 4: Waal’s Home (Cutscene) |
64 | Chapter 4: Cappucci Island 02 |
65 | Chapter 4: Secret Path |
66 | Chapter 4: Watch Out For Stunfisk’s Electric Shocks! |
67 | Chapter 4: Masquerain’s Fog |
68 | Chapter 4: Bridge Repair |
69 | Chapter 4: Feebas Evolved Into Milotic |
70 | Chapter 4: Refutation 01 |
71 | Chapter 4: Refutation 02 |
72 | Chapter 4: Refutation 03 |
73 | Chapter 4: Refutation 04 |
74 | Chapter 4: Confession |
75 | Chapter 5: Roger Clifford |
76 | Chapter 5: Hi-Hat Café (Cutscene) |
77 | Chapter 5: Alakazam’s Call |
78 | Chapter 5: Fine Park |
79 | Chapter 5: Rescue Bunaeary! |
80 | Chapter 6: GNN 01 |
81 | Chapter 6: President of GNN |
82 | Chapter 6: GNN 02 |
83 | Chapter 6: Olga Ellison |
84 | Chapter 6: Max and Chatot |
85 | Chapter 6: Hiro Morgan |
86 | Chapter 6: Yanma Cameras 01 |
87 | Chapter 6: Yanma Cameras 02 |
88 | Chapter 6: Carina Mitchell |
89 | Chapter 6: Purugly |
90 | Chapter 6: GNN 03 |
91 | Chapter 6: Shooting |
92 | Chapter 6: Kricketune and Carina Performance |
93 | Chapter 6: Incident |
94 | Chapter 6: Refutation 01 |
95 | Chapter 6: Refutation 02 |
96 | Chapter 6: GNN 04 |
97 | Chapter 6: Stop Keith! |
98 | Chapter 7: Accelgor Help |
99 | Chapter 7: Ryme Wharf |
100 | Chapter 7: Thought |
101 | Chapter 7: Infiltrate the Warehouse! |
102 | Chapter 7: Alexander Wilde |
103 | Chapter 7: Ryme Wharf Warehouse |
104 | Chapter 7: Pansage |
105 | Chapter 7: Simon Yen |
106 | Chapter 7: Escape from the Factory Manager! |
107 | Chapter 7: Leaving the Warehouse |
108 | Chapter 8: S.S. Prime Treasure Storage |
109 | Chapter 8: S.S. Prime Treasure Deck (Cutscene) |
110 | Chapter 8: S.S. Prime Treasure Deck |
111 | Chapter 8: S.S. Prime Treasure Interior 01 |
112 | Chapter 8: S.S. Prime Treasure Interior 02 |
113 | Chapter 8: Krokorok |
114 | Chapter 8: Emilia Can Help |
115 | Chapter 8: Gino Farina |
116 | Chapter 8: Rose and Snubbull |
117 | Chapter 8: The Mask Disappears |
118 | Chapter 8: Refutation 01 |
119 | Chapter 8: Refutation 02 |
120 | Chapter 8: Refutation 03 |
121 | Chapter 8: Dressed for the Auction |
122 | Chapter 8: Auction Reception |
123 | Chapter 8: Auction Hall |
124 | Chapter 8: Let the Bidding Begin! |
125 | Chapter 8: Chemical R |
126 | Chapter 8: Skorupi Attacks |
127 | Chapter 8: Capture Keith! |
128 | Chapter 8: Case Solved |
129 | Chapter 8: Pikachu’s Promise |
130 | Chapter 8: Crisis |
131 | Chapter 9: Pokémon Carnival |
132 | Chapter 9: Information |
133 | Chapter 9: Baker Detective Agency |
134 | Chapter 9: Heading to Central Square |
135 | Chapter 9: Disarm the R Machine! 01 |
136 | Chapter 9: Disarm the R Machine! 02 |
137 | Chapter 9: We Did It! |
138 | Chapter 9: Roger 01 |
139 | Chapter 9: Roger 02 |
140 | Chapter 9: Stop Roger |
141 | Chapter 9: Talking to Mewtwo |
142 | Chapter 9: The End |
143 | Staff Roll |
144 | Point of View |
145 | Pikachu Sign 01 |
146 | Pikachu Sign 02 |
147 | Pikachu Sign 03 |